The power and simplicity of kanban is useful beyond the great power it has in helping an organization lean out process and shorten time to deliver. The ability to see all requested and in-progress work at one time is easily built. And any manager and their direct reports can benefit from the efficiency it provides. Following are my steps for taking over any organization with Kanban.
What is a Kanban?
Say “kahn-bahn.” Kanban is not pronounced the way an American would pronounce “can man.” The Japanese language does not have the American short a sound in it. Kanban is a Japanese word that means sign board or bulletin board. It consists of several simple elements: the types of work it will reflect, a start and finish line between which work is in-progress, and the flow that work follows. For the purposes of of taking over an organization and wanting to be able to easily have a visual status report of all work and how it is flowing from start to finish, we will not concern ourselves with using the Kanban to improve anything other than our ability to see what is going on. We’re only going to worry about the visual aspects Kanban.
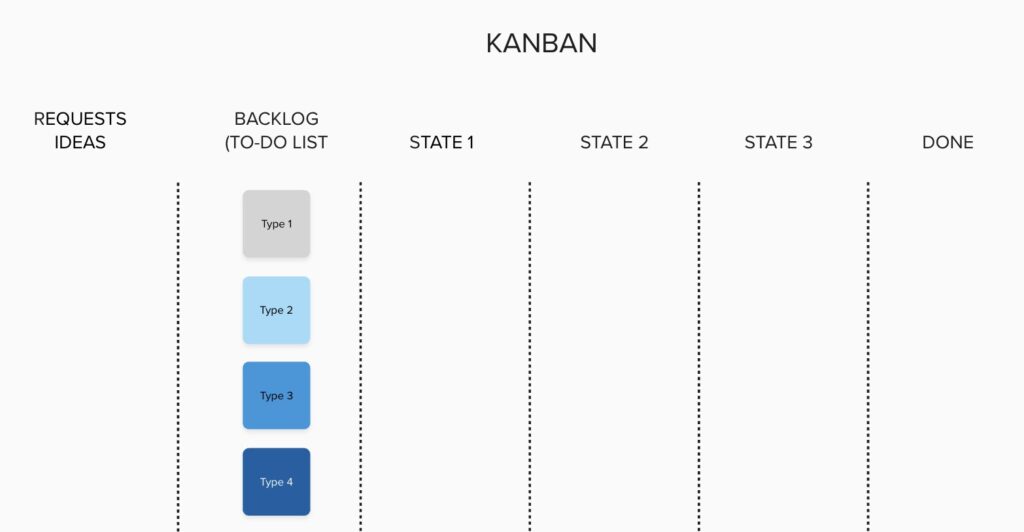
1. Define the Work Item Types
You are going to create the board by asking your team members to collaboratively and all at once name the different types of work items that they have.

Example:
- Project
- Corporate training
- Required bureaucratic function
- Report
- Fire-fighting
A software development team usually has four types of work items at a minimum:
- New feature
- Feature change
- Feature removal
- Bug fix

The types of work may vary from one organization to another. What you put on the board as cards to flow across the board will depend entirely on what you are trying to see. If you are interested in seeing only completion of projects, then the cards will be different types of projects. If you find that your team has a corporate training they must complete, and you want to track that as well, then trainings might also be a work item type.
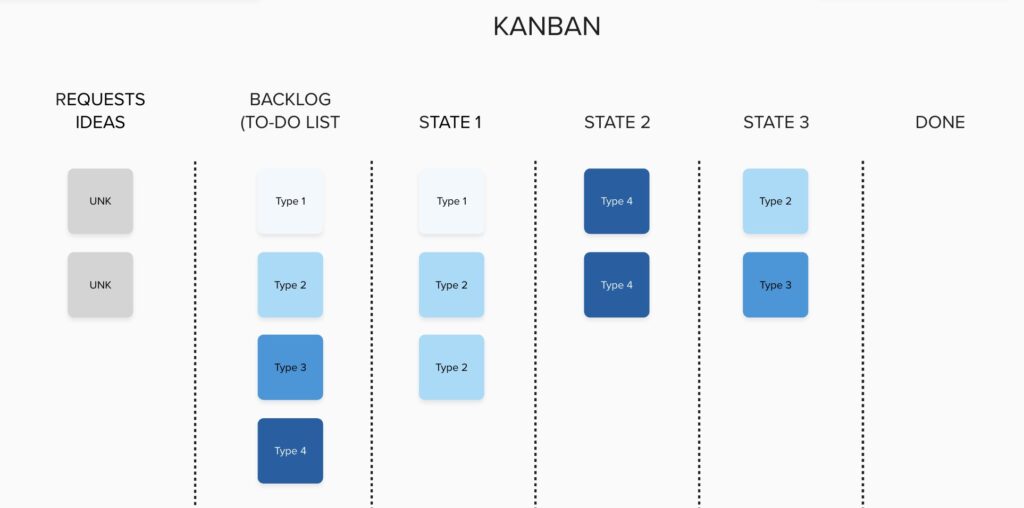
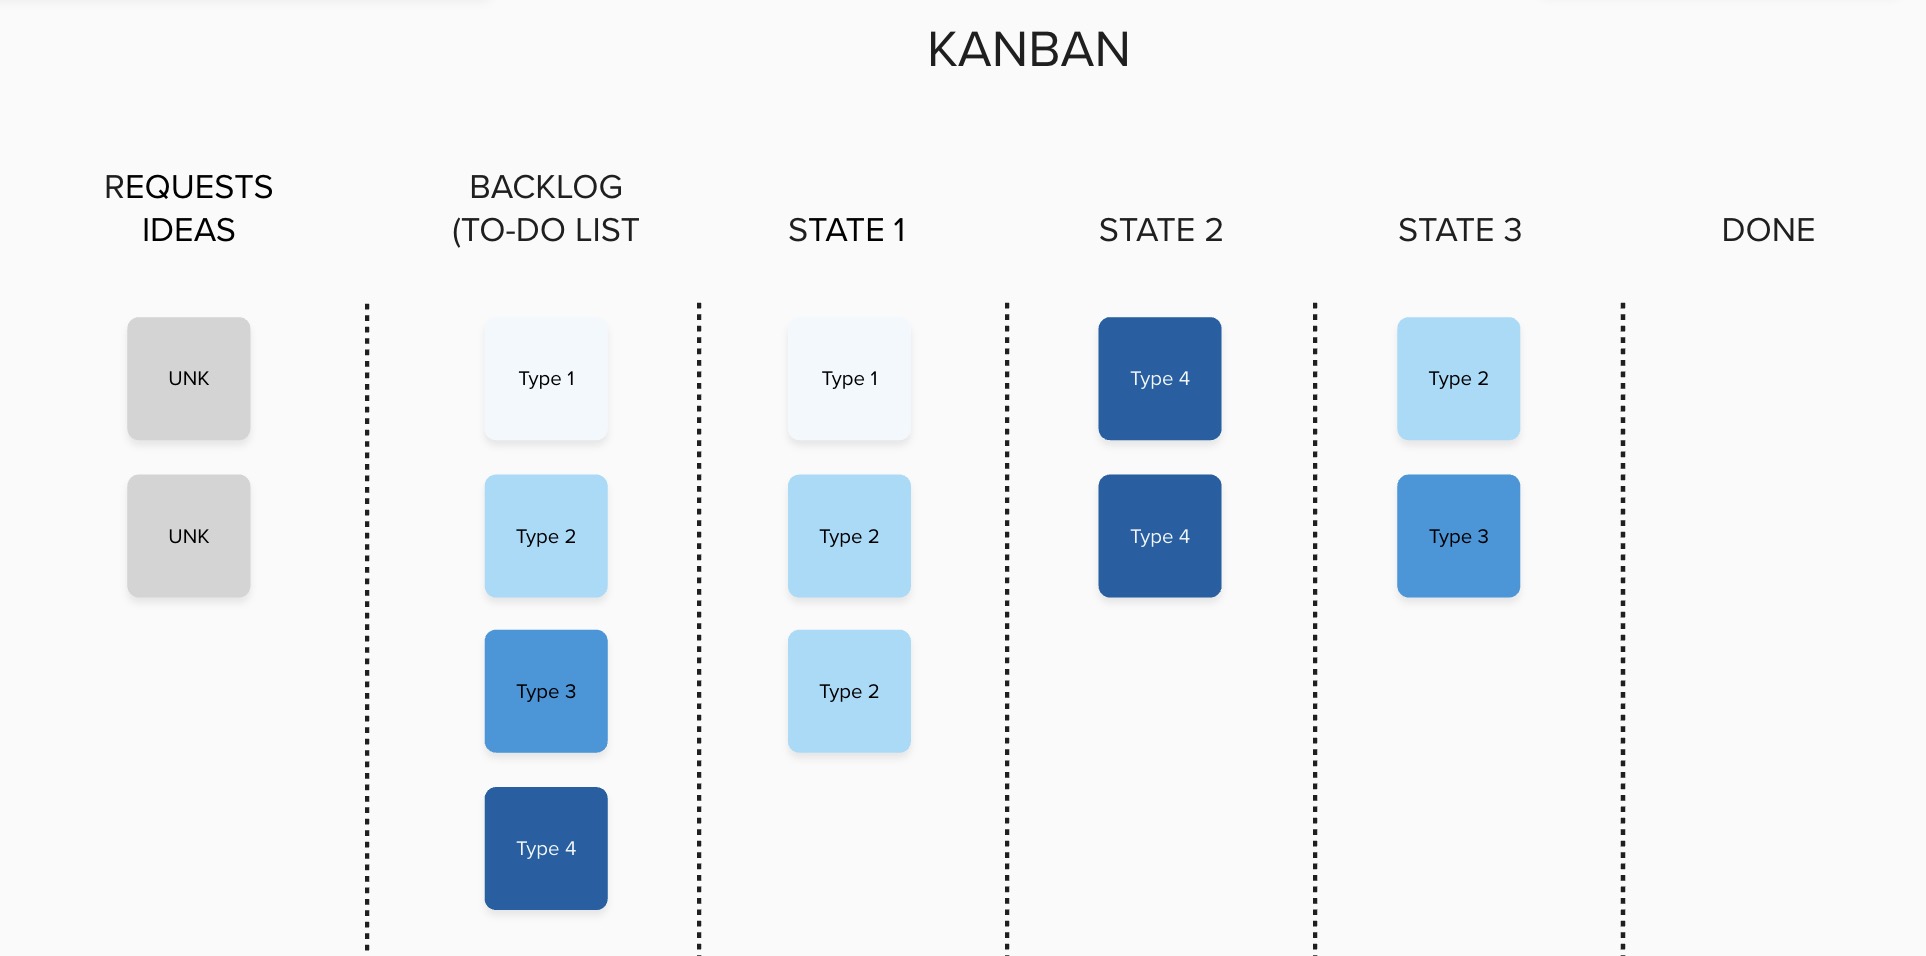
How you visualize work item types is entirely up to you. In my example, I used different color cards to indicate different types. Notice I did not use red, yellow, or green due to accessibility for the color-blind. Also, having been a victim of many RYG status update meetings during my time as a project and program manager, I find those colors tend to be interpreted as a status rather than a work item type. We’re not worried about the status of work yet. For now, let’s just visualize what work exists and where it exists in the process.
2. Define the Start and Finish
It is very important to understand exactly when a work item has gone from whatever backlog, to-do list, or waiting queue to actively being worked. It is equally important to understand when a work item is considered complete. Later on, you may choose to measure how long it takes for different types of work to move across the board. In order to do that, you will need a clear, black and white line that work crosses that takes it from inactive to actively being worked to fully done.
3. Define the Workflow
The simplest Kanban has three states in the workflow: to-do, doing, and done. Your process is probably more complex than this, and you will want to define more work states.
WARNING:
DO NOT CREATE AN OVERLY COMPLEX WORKFLOW BY ADDING TOO MANY STATES.
The simplest Kanban has three states in the workflow: to-do, doing, and done. Your process is probably more complex than this, and you will want to define more work states. Some will be tempted to add many, many work states to reflect the complex detail of the process. However, the goal is visualization of what state work is in, not to document every little detail about work.

Now it is time to populate the kanban with your organization’s work.
4. Populate the Board
Create work items of each type that current are in queue to be worked and being worked. It’s not necessary to list the ones recently finished. You will find little value in documenting the things that were recently finished except in those cases where work was thought to be in-progress but now turns out to be finished.
Populated with work, the board now serves as a visualization that creates transparency about where all work is in the process.

Now that the board is populated with work moving through states, it is possible to indicate status. I see little value in indicating RYG status on this board. Inevitably that leads to watermelon status – red on the inside but green on the outside. Rather, simply indicate when an item has been aging for too long while in-progress.
When indicating the status of an item, it is imperative that you leave the item’s card in its current state. Items which are blocked do not belong in a column named “blocked.” Becoming blocked is not a step in your process. Or, maybe it is, but it should not be. A kanban is a three dimensional display of work. The first dimension is travel from left to right through states. The second dimension is top to bottom indicating importance to be completed. The third dimension is any indication of whether or not the item is delayed or blocked. The status, state, and importance should all be visible at the same time from the position of the cards on the board.
Enjoy.
You now have a board you can inspect a frequently as is practical to discover the state, importance, and status of all work in a department. This may be enough for you for now, but you can take this to another level by using limits on the amount of work that can be in-progress in order to increase flow. You could set policies for work items to meet before they can leave a column. You can institute the practice of pull to create higher levels of transparency and improve utilization.
Inevitably, the next question is, “What tool to use to do this?” This is not an ad, so I am not going to flow into a pitch for a sponsor. That’s a topic for a future article.

ProKanban.org. (n.d.). Kanban guide. ProKanban.org. Retrieved September 2, 2024, from https://prokanban.org/kanban-guide

